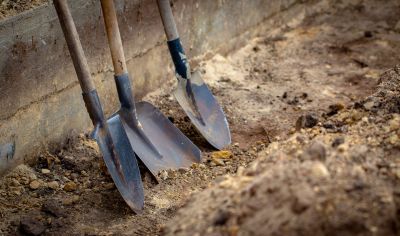
Making a ditch for drainage can enhance the appearance of your yard, even when your ditch is nothing more than a dry creek bed.
Drainage Ditch Plans
Check permit requirements in your city and county; there may be rules about redirecting water, especially if you live near a creek, stream, or lake. Make sure your drainage ditch won’t cause problems for neighboring properties. Plan the course of the ditch, following the natural flow of water. If your slope doesn’t have a natural hill, you may need to create one. Water must flow to a suitable outlet. Keep in mind that the highest point of the drainage ditch should be where water is standing, with the lowest point where water exists. Otherwise, the water won’t flow. The ditch should be 3 to 4 feet (about a meter) away from fences and walls. Once you’ve determined the course of the ditch, mark it with spray paint.
How to Build a Drainage Ditch Step-by-Step
Clear stumps, weeds, and other vegetation along the course of the ditch.
Dig a drainage ditch about twice as wide as it is deep. The sides should be gentle and sloping, not steep.
Put the excavated dirt in a wheelbarrow. You may want to use the topsoil around the ditch, or for other projects in your garden.
Fill the bottom of the trench with large crushed rock. You can use gravel, but it must be large enough that water can’t wash it away.
Put larger stones along the sides of the drainage ditch. They will support the structure of the ditch.
If you want to plant grass in the drainage ditch, lay landscape cloth over the gravel in the bottom, then cover the cloth with more gravel or stones. Place about an inch (2.5 cm.) of topsoil over the gravel before planting grass seeds. You can also create a natural “creek bed” in your yard by arranging large stones naturally along the drainage ditch, then fill in along the creek with shrubs, perennial plants, and ornamental grasses.
